

FREE ACADEMY
Free filmmaking notes
Short, practical notes from idea to delivery. Adapt them to your project, equipment and crew safety.
Pre-production
Before the shoot, clarify the story and the practical limits.
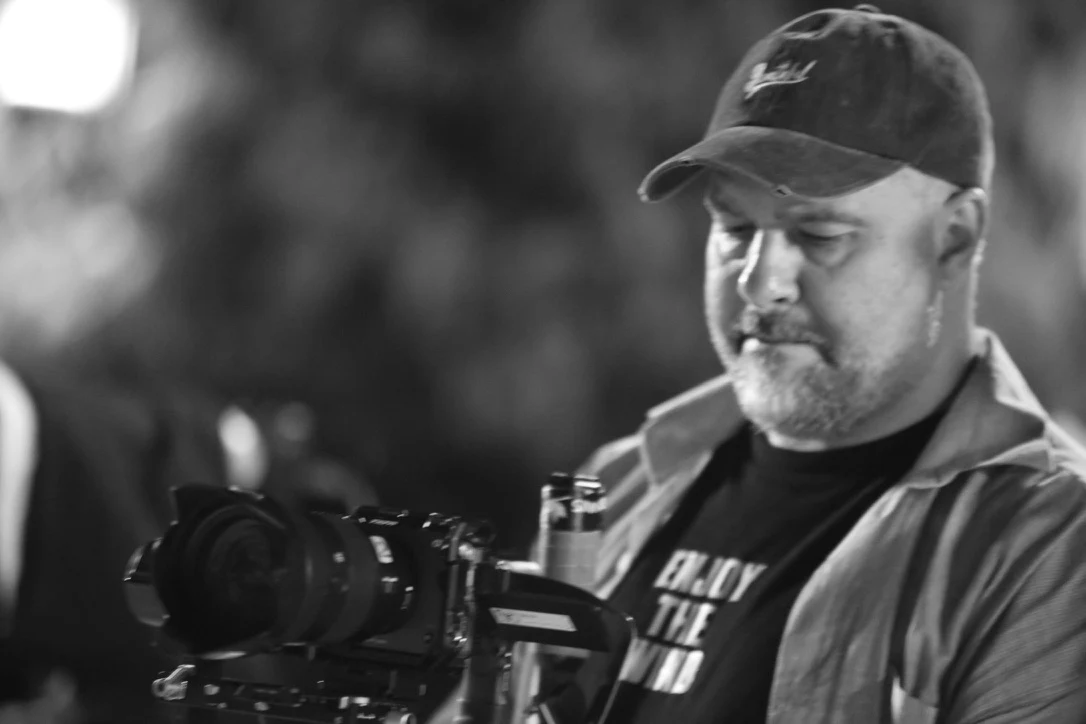
Describe the idea in one sentence
Before choosing shots, describe the film in one sentence. Use it to check later decisions against the purpose of the story.
Give every shot a purpose
Beside each shot, note the information or feeling it adds to the story. When time runs short, these notes help identify the essential shots.
Scout at the shooting time
Visit at the time you plan to shoot. Sunlight, street noise and foot traffic change throughout the day.
Draw a simple floor plan
Mark performer, camera and light positions in an overhead drawing. It does not need to look polished; the crew needs to understand it.
Schedule around the constraints
Mark sunset, performer availability and the location handover time, then work backwards. Allow extra time for difficult shots when the light and crew are available.
Prepare a shorter version
Keep a shorter shot list for each day: if half the available time is lost, which shots are essential to preserve the story?
On set
Shape light, movement and sound around the needs of the scene.
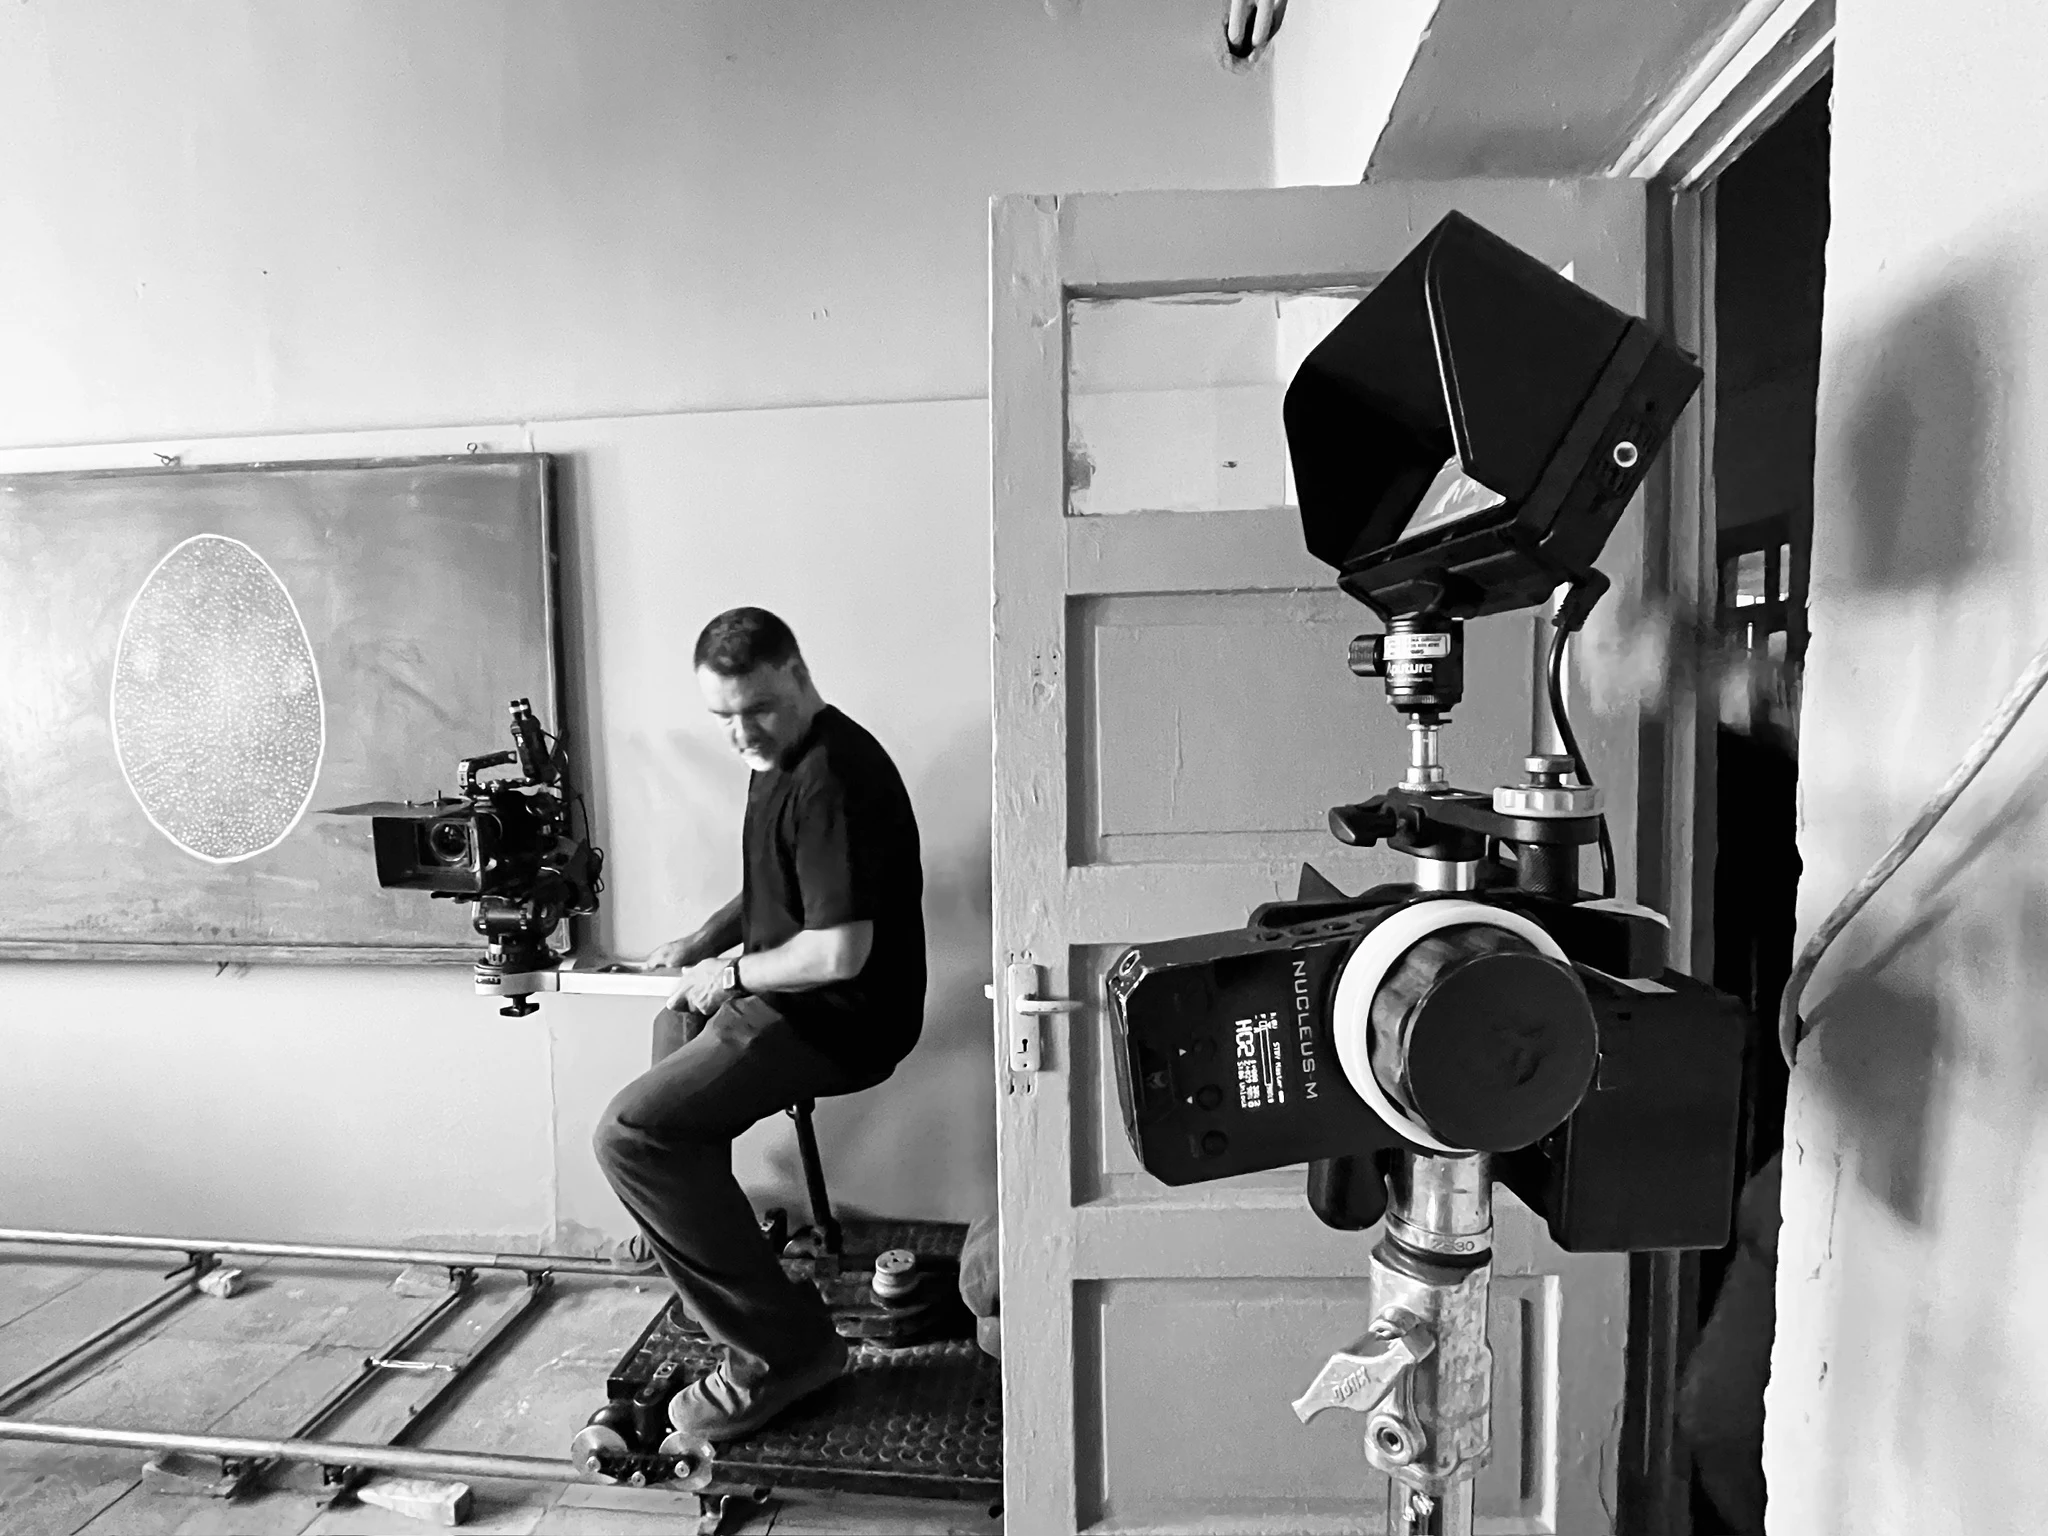
Look at the existing light
Before adding a fixture, look at what the location light is doing. Controlling a window or moving the subject can be a useful starting point.
Design the shadows too
To give a face more shape, try light from the side and black fabric on the opposite side. Frontal light can also be a valid choice for the story and intended look.
Judge exposure in context
Check faces, highlights and shadows against the camera and intended look. Use False Color or another exposure tool; suitable values depend on the camera and how the image is displayed.
Move the camera with a reason
Ask what information or feeling the camera move adds. To compare, imagine the same moment with a stationary camera.
Record useful location sound
Bring the microphone close to the source when framing and the action allow it. Record room tone without dialogue at each location; agree on the duration with the sound recordist.
Allow a controlled variation
After the planned take, try a controlled variation if time and safe conditions allow it, such as a different performance or an angle consistent with the scene continuity.
Post-production
Check backups and file organization before editing.
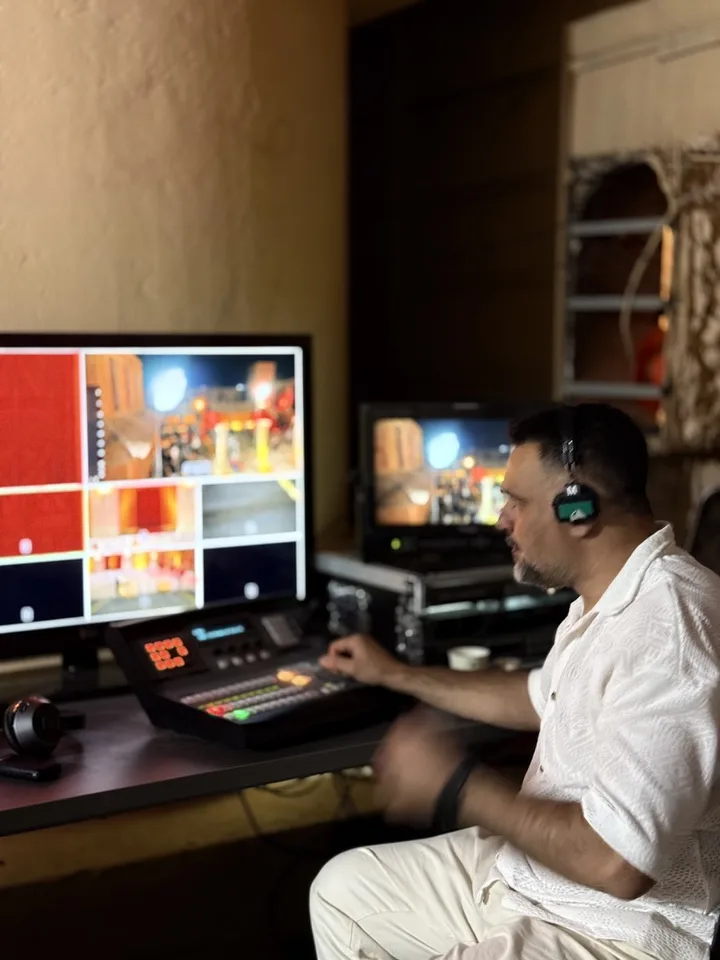
Organize and verify backups
Organize footage by day, scene and take. Before editing, check that independent backups exist and can be opened. Do not overwrite original media while organizing or editing.
Review the footage first
Before committing to a structure, review the footage and mark useful moments. Keep performance differences and alternative takes alongside the scene notes.
Try cutting on action
An action, such as turning or sitting down, can make the join between two shots feel more natural. Judge the cut against the rhythm, movement direction and purpose of the scene.
Watch once without sound
To review visual rhythm and continuity, watch once without sound and note unclear moments. This exercise does not replace judging the story with dialogue, music and sound design.
Check balance before the look
First align exposure and colour balance with the project colour-management workflow. Then judge skin and the final look alongside the story and shot continuity.
Check the delivery in context
Compare the export with the delivery specification and review picture, sound and subtitles. For web delivery, also check a phone and an everyday display; cinema or HDR delivery needs checks suited to that destination.